
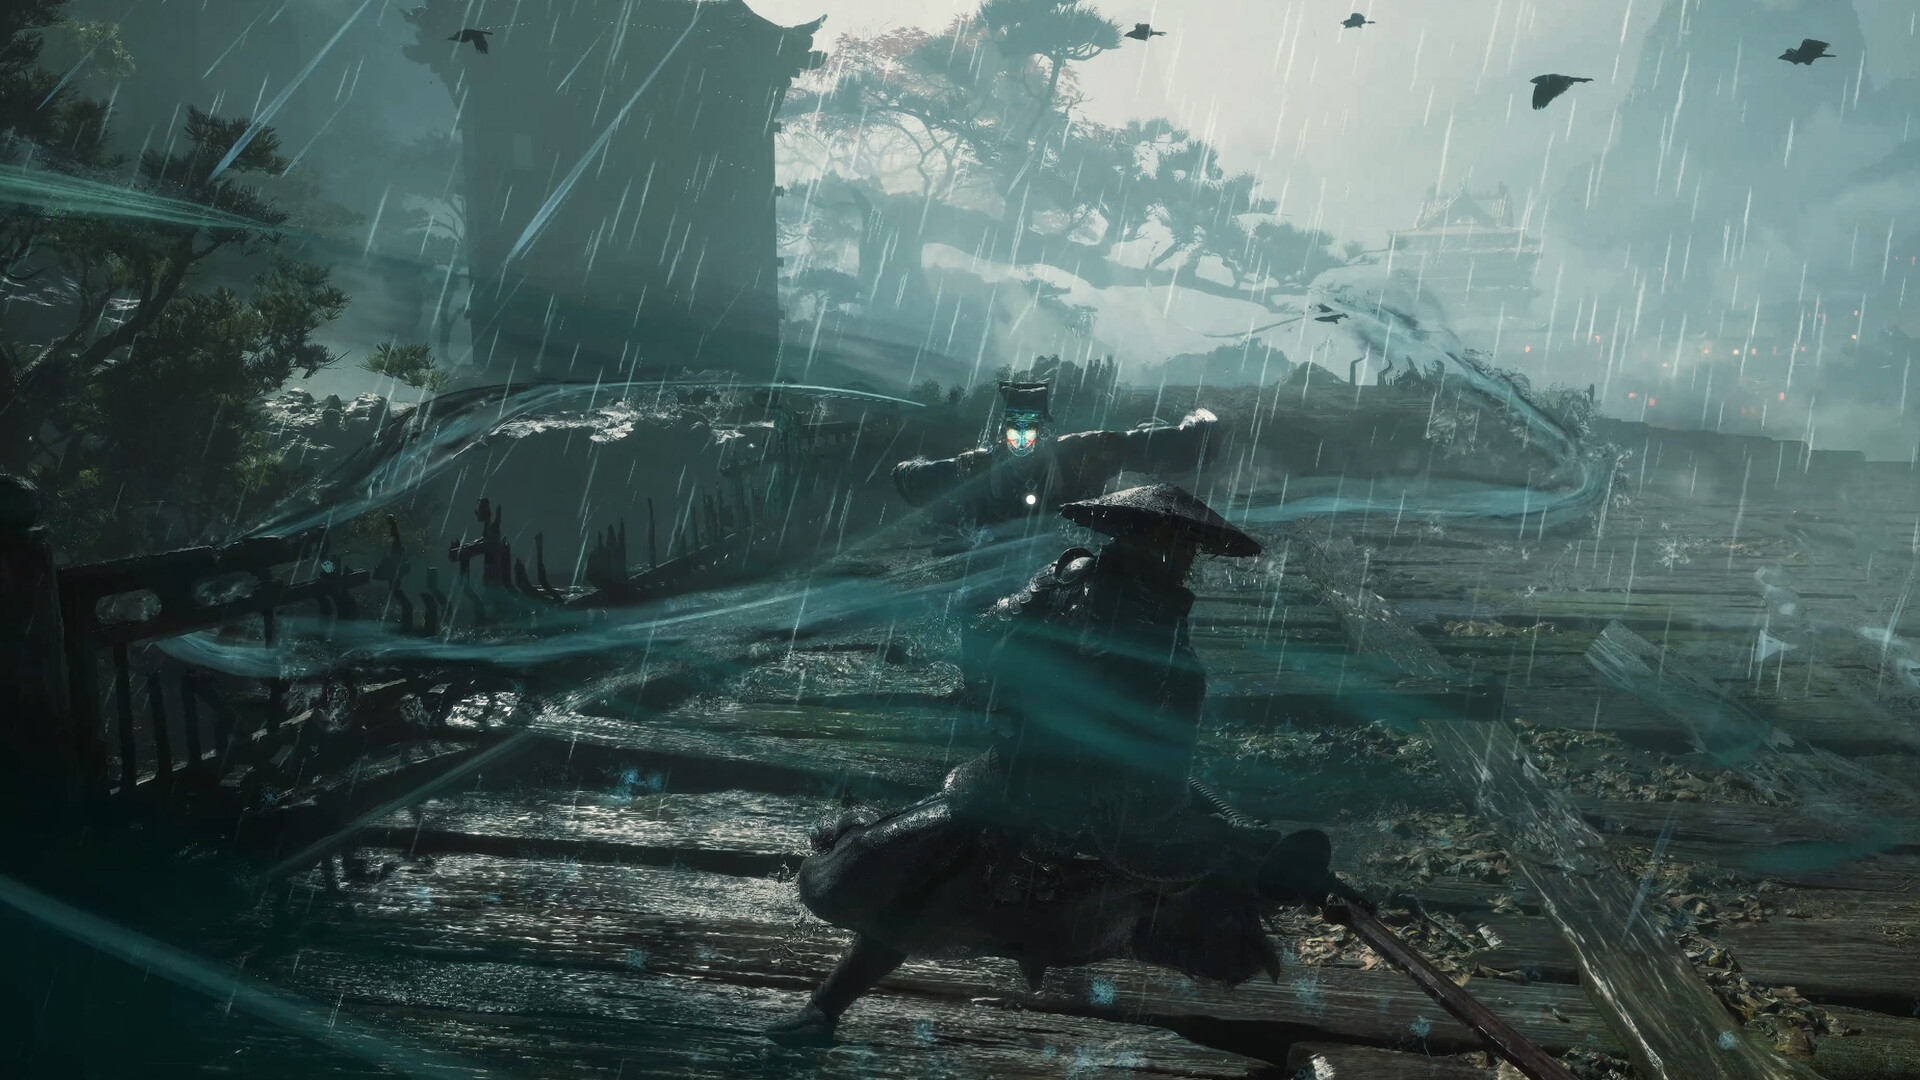
Phantom Blade Zero introduces a dense set of combat terms at once: Soul carries two primary blades, can equip two Phantom Edges, builds and spends Sha-chi, and uses Ghostep to change position. The game’s public materials also describe four difficulty modes—Wayfarer, Pathbreaker, Hellwalker, and the optional Sixty-Six Days setting. That is enough vocabulary to make the opening fights feel busy before you understand how each enemy behaves. This guide gives you a learning routine rather than pretending one weapon or one button sequence solves every encounter.
Keep the distinction between a tell and an attack in mind. The tell is the readable preparation: a shoulder drawing back, a weapon held high, a pause, a rush, or a distinct visual cue. The attack is the actual hit that follows. Your goal is to identify which response the move allows, not to press defense as soon as the enemy moves. Early panic inputs often happen during the wind-up and leave Soul committed when the strike arrives.
Start by identifying one enemy at a time
When a group enters the arena, do not lock your attention on the nearest health bar and mash through the crowd. Take a brief look at the whole formation. Find the enemy with the longest reach, the one approaching from a flank, and the one already preparing an obvious attack. If the camera is crowded, use movement to draw one opponent into a clearer lane. A few steps of space can turn an unreadable pile of animations into a sequence of individual decisions.
In a one-on-one exchange, watch the opponent’s upper body and weapon hand. The first motion may be a feint or a reposition rather than the damaging part of the sequence. Let the full attack reveal its timing, then choose a response. If the same enemy repeats a two-part string, count the beats: defend the first commitment, stay ready for the follow-up, and only attack after the final recovery. A safe punish after a complete sequence is more valuable than a speculative hit that interrupts your next defense.
Treat Brutal and Killer tells as information
The public combat language distinguishes Brutal and Killer attacks. Think of those labels as prompts to read the move carefully, not as a reason to make the same reaction every time. Look for the visual treatment and animation the game presents, then learn whether the specific action is best answered with a well-timed defense, a sidestep, or simply leaving the danger zone. The site does not prescribe one universal counter because the shape and reach of attacks matter.
When an enemy signals a high-impact move, avoid attacking into the wind-up just to keep a combo going. Create enough separation to see the follow-through. A linear charge may leave a side lane open; a wide sweep may punish a close sidestep; a vertical strike may be easier to avoid by moving out of its marked space. Observe one example, test one response on the next attempt, and keep the result. Changing your answer every time makes it difficult to know which timing actually worked.
Use Ghostep to solve position, not as a panic button
Ghostep is a repositioning tool. Its value comes from where Soul ends up: outside the weapon’s path, beside a committed opponent, or in a lane that prevents a second enemy from hitting you during recovery. Before using it, ask where the attack will land and where you want to stand afterward. A dodge that crosses through a wide swing can still leave you in danger, while a shorter movement that clears the hitbox can preserve a counter opportunity.
Do not spend every defensive action moving toward the target. Sometimes creating distance is the correct reset, especially when multiple enemies overlap their attacks. If you consistently take damage after a successful evade, inspect the landing position rather than assuming the timing was wrong. You may have avoided the first strike but entered the follow-up’s arc. Adjust the exit direction and watch whether the enemy’s sequence has another beat.
Spend Sha-chi with a plan
Sha-chi is part of the game’s combat resource loop, so treat it as a budget for deliberate pressure rather than a meter that must always be emptied. Notice which actions build it, which actions consume it, and whether the current encounter is about to transition. Spending a resource skill as soon as it becomes available can leave you without the tool you wanted for a tougher enemy a few seconds later. Conversely, ending a long encounter with a full meter may mean you passed up useful damage or control.
Test one expenditure at a time in a low-risk fight. Watch how much meter changes, what the move does to the target, and whether it creates enough recovery time for another action. Do not assume an effect carries across every weapon pairing. If a move launches, staggers, or hits an area, use it where that property matters; if it leaves Soul exposed, save it for an opening you have already earned. Your notes should describe the observed interaction, not a guessed damage number.
Choose a simple loadout before experimenting
The published weapon system provides two primary blade slots and two Phantom Edge slots, with a broad armory advertised at roughly 55 weapons. That variety is a reason to experiment gradually. Pick a primary weapon whose range and animation you can read, then keep it equipped for several encounters. Add one secondary tool with a clear purpose—reach, a different tempo, or a way to respond to a specific enemy type—rather than changing every slot after each defeat.
In the pause menu, compare the description and handling before spending upgrade resources. A weapon that looks dramatic may have a commitment window that does not suit your current timing. Start with moves you can finish safely. Once your defense is reliable, test a slower option or a more specialized Phantom Edge. If a loadout repeatedly causes you to miss the end of enemy strings, return to the previous setup and change just one slot. That makes the cause of improvement or failure visible.
Turn boss attempts into useful practice
Approach a new boss attempt as a short observation session. On the first pass, prioritize staying alive long enough to see several attacks. Identify the opening animation for each major move and note whether it is a single hit, a delayed hit, a multi-part string, or an area threat. On the next pass, test one defense against one move. After that, add a punish only when you can explain why the recovery window is safe. This staged approach prevents the common cycle of rushing, dying, and learning nothing concrete.
If you reach a checkpoint or can retry quickly, use the same opening route for a few attempts. Consistency makes comparisons meaningful: if you alter your weapon, difficulty, and defensive timing at the same time, you cannot tell which change mattered. Heal or reset when the game offers a safe opportunity, but do not spend a limited item just to extend an attempt that has already taught you the pattern. Treat a defeat as a result, not a verdict on your build.
Pick a difficulty that supports learning
The listed modes are Wayfarer, Pathbreaker, and Hellwalker, plus the Sixty-Six Days setting associated with a 66-death challenge. Select the mode that lets you see enemy patterns without turning every mistake into a restart. Players who want to learn weapons and animations may prefer a more forgiving route; those seeking a stricter execution test can move up once the basic response loop is comfortable. Sixty-Six Days is a distinctive challenge choice, not a required first-run setting.
Difficulty is not a substitute for understanding a move. If an encounter feels overwhelming, simplify the experiment: defend, evade, and observe before trying to optimize damage. If it feels too forgiving to teach timing, increase the challenge after you can reliably read the same enemy. The correct setting is the one that lets you make a clear connection between a decision and its result.
A repeatable first-hours checklist
- Read the tutorial prompt and confirm what the action consumes or changes.
- Identify the current enemy’s longest or most dangerous attack before committing to damage.
- Test a defensive answer on one tell, then keep the same answer long enough to judge it.
- Use Ghostep to exit the attack lane and avoid the follow-up, not just to close distance.
- Spend Sha-chi when you have an opening and a reason, while watching how the resource moves.
- Change one weapon or difficulty variable at a time so each attempt teaches you something.
FAQ
Should I parry every attack? No universal answer is safe. Learn the particular tell and choose the defense that clears that attack’s path.
Is Ghostep only for dodging? Its positional value matters: where Soul ends the movement can determine whether the next hit connects.
Which difficulty should a new player use? Start with the mode that leaves room to observe, then raise the challenge after you recognize enemy strings.
Is this a boss-by-boss walkthrough? No. It is a launch-period fundamentals guide based on the published combat vocabulary; encounter specifics should be learned from the current build.